

Menu
But if you want to remove tiles from your bathroom walls, the process isn’t straightforward. At best, it can be messy and expensive. At worst, one wrong move could damage the structural integrity of your walls.
Whether you’ve moved into a new home and want to put your own stamp on the place, or simply fancy a change from your existing tiles, read on to discover how to remove tiles from bathroom walls.
What you’ll need
When removing your bathroom wall tiles, the first step is to place a strip of adhesive tape across the centre of your tile. Ceramic tiles can be incredibly slippery, which makes it difficult to keep your drill in place as your start to work. The tape will create a more stable surface and help you identify the midpoint of your tile.
Once you’ve applied your tape, you can drill a small hole in the centre of your tile. Be careful – if you drill too deep, you could damage the wall underneath.
Next, use your grout removal rake to remove the grout on all four sides of your tile. As with the drilling, it’s possible to damage your wall if you’re not careful, so make sure you don’t dig your rake in too deep.
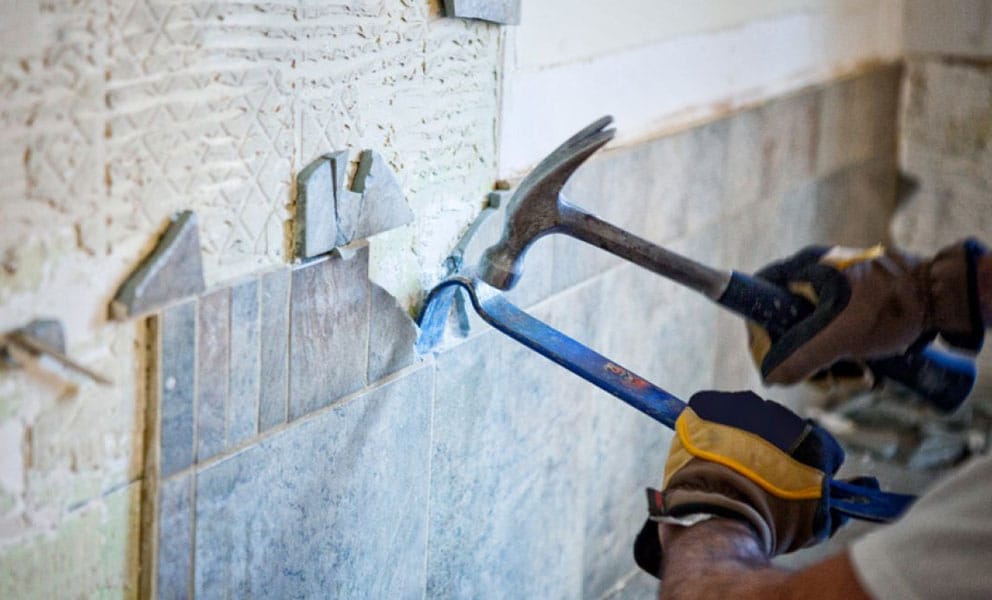
Once you’ve removed all the grout, it’s time to chip the tile away from the wall. Using your hammer and chisel, start removing the tile, starting by cracking the hole that you made in the centre.
As the tile breaks up, you’re likely to get a lot of dust and ceramic shards. Make sure to wear protective clothing and, if necessary, lay a sheet on the floor to collect the debris and prevent your flooring from becoming scratched.
After the tile has gone, you’ll be left with the adhesive. This can be very tricky to remove. Use a scraper to chip away at the hardened adhesive, or use your hammer and chisel if it’s particularly tough (being careful not to scrape away the plaster of your wall).
When you’ve removed all of the adhesive, lightly brush the exposed wall to remove any dust or leftover crumbs of ceramic. Then, repeat the entire process until you’ve removed every tile in your bathroom.
Want to say goodbye to your tiles without the mess? There is an alternative to learning how to remove tiles from bathroom walls – simply install our high-quality PVC wall panels on top!
Our range of bathroom panels has been designed for easy installation, all while providing the perfect finish you want. Best of all, the process of applying your panels on top of tiles is the same as adding them directly onto your wall, making it a quick and cost-effective way to freshen up your space.


